House Renovation Process: Order of Works
Demolition to Handover
Taking the plunge into a home renovation is an exciting journey!
Having clarity on exactly what you want is most important. To create a comprehensive renovation brief, check out our blog “How to Create Your House Renovation Brief”
Whether you are updating part of or your entire home, having a good understanding of the renovation process can help you navigate the process and keep your stress levels down.
With a better idea of the process from demolition to handover, it will help you understand when certain decisions need to be made and why. It will keep you motivated by knowing what stage you are at and what next on the agenda – always with an end in sight, your newly renovated home!
From our perspective as building contractors, we feel that when our customers are better informed about the renovation process it:
Instils confidence from the outset of this journey.
Makes it easier for them to communicate with us (the contractor).
Helps keep them and us on the same page.
Makes decision making easier and timelier.
Helps avoid unnecessary delays.
Helps avoid costly mistakes.
Help reduce stress and makes the journey more enjoyable for both parties.
Every house renovation can vary in terms of the overall scope of works, however, generally it will involve a certain flow of work to complete the project as efficiently as possible. One of our most frequently asked questions is: “In what order do you renovate a house, what is the process?”
Here is Home Renovation Order of Works & Our Top Tips
1. Demolition and Strip-Out: Starting Fresh
The first step in your home renovation journey is the demolition or strip-out phase. This involves removing old fixtures, fittings, tiles, flooring and kitchen cabinets. If you are remodelling the space, it may involve the removal of non-load bearing walls. All debris will be removed and disposed of. Think of it as clearing the way for your new creation.
Tip: This stage will be noisy and dusty, so it always a good idea to stay elsewhere, if possible for the duration of the works. If you are making site visits, be sure to communicate with your contractor to understand the timeline and any safety precautions.
2. Structural Work: Building the Backbone
This step focuses on any alterations to the structure of your home. This can include installing or modifying load-bearing walls and installing supporting posts and steel beams. If you are extending your home, the build will commence at this stage. At this point, you will make sure that the building is structurally sound and carryout any necessary repairs to the roof and exterior walls (the envelope of the home). It is all about creating a solid framework for your new space.
Tip: Regularly check in with your contractor to ensure everything is progressing as planned. Address any concerns or unexpected issues as they arise to keep the project on track. All structural alterations should be specified and overseen by an engineer.
Photo Credit Clodagh Doyle Door Opening
3. First Fix: Behind-the-Scenes Essentials
After the structural work, the focus shifts to installing or updating the essential systems known as the first fix works which includes plumbing, electrical, and heating. Depending on the requirements this may involve a complete rewire or replumb, so cables, outlets, fitting pipes and it may involve installing a new combi boiler, new radiators and heating controls. These are the systems that keep your home running smoothly and efficiently. First fix carpentry will also take place with the introduction of new stud walls.
Tip: Consider incorporating energy-efficient and smart home technologies during this phase. It’s a great way to future-proof your home and reduce long-term costs.
4. Windows & Doors: Weathertight
Installation of new windows and doors will effectively seal and watertight the envelope of your home ready for the finishes. Window and doors will be insulated and sealed properly The lead times on exterior windows and doors can vary so it is important to get the timing right early on in the process so as to avoid delays on site.
Tip: Carefully consider choosing your windows and doors as these can dramatically enhance your homes appearance, security and the energy efficiency of your home.
Photo Credit Clodagh Doyle Front Door
5. Plastering & Insulation: Shaping Up
With the essential systems in place inside the walls and under the floors, it’s time to close these up ready for your decorative finishes. Insulated plasterboard may be installed on all window walls throughout the home and the attic insulated. Insulation helps regulate your home’s temperature, making it comfortable year-round. During this phase you can insulate walls, floors and ceilings. The ceilings can be made good or slabbed and plasterboard can be installed on the walls and then skim to ensure the perfect finish.
Tip: Before the plasterboard, be sure to inspect the plumbing and electrical work to ensure everything is in order. This is your last chance to make changes before they are covered.
6. Flooring & Wall Panelling:
Now that the main structure and system elements are complete, you can concentrate on the flooring. Various types of flooring may require a different installation process. Generally, the subfloors should be prepped to ensure that these are level. You can install timber, laminate, tile or carpet and seal if required. If you are contemplating wall panelling, now is the time to get creative and fit.
Tip: When choosing your flooring, you should choose a material that suits your lifestyle and compliments your overall design astetcitcs.
7. Fixtures and Fittings: The Finishing Touches
Next, it is time to install fixtures and fittings. This includes everything from fitting your new kitchen and countertops to bathroom vanities and light fittings. It will involve fitting new door frames, hanging doors along with installing new skirting and architrave. These elements are crucial for functionality and aesthetics.
Tip: Spend time selecting fixtures and fittings that match your design vision and meet your practical needs. Quality choices here can elevate the entire look and feel of your home.
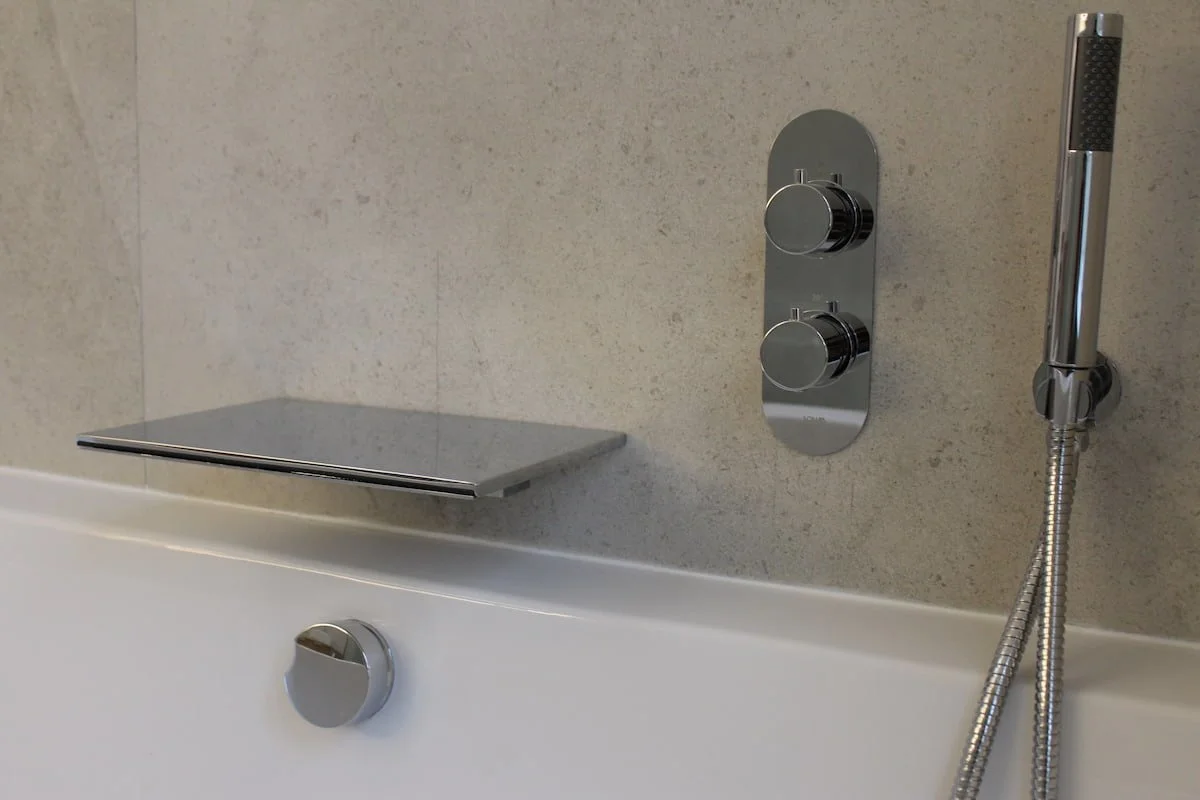
Photo Credit Clodagh Doyle Bath Fittings
8. Second Fix
Second fix works which includes plumbing, electrical, and heating will coinside with the fixtures and fittings stage. Once the cabinets are in, the plumbers come back to install the sinks, tubs, showers, and all the faucets. The electricians come back to hook up all the light switches, lighting fixtures, and make sure all your smart devices are connected. Second fix carpentry will also happen at this point.
Tip: Make sure that you have everything ready on site to avoid any uncessary delays.
9. Decoration: Introducing Your Style
Now comes the exciting part: painting. This is where your home starts to take shape and show its personality. Carefully considering your colour scheme will help bring everything to life with colour and warmth.
Tip: Test paint colours on small sections of your walls to see how they look in different lighting conditions. This will help you make the best choice for your space.
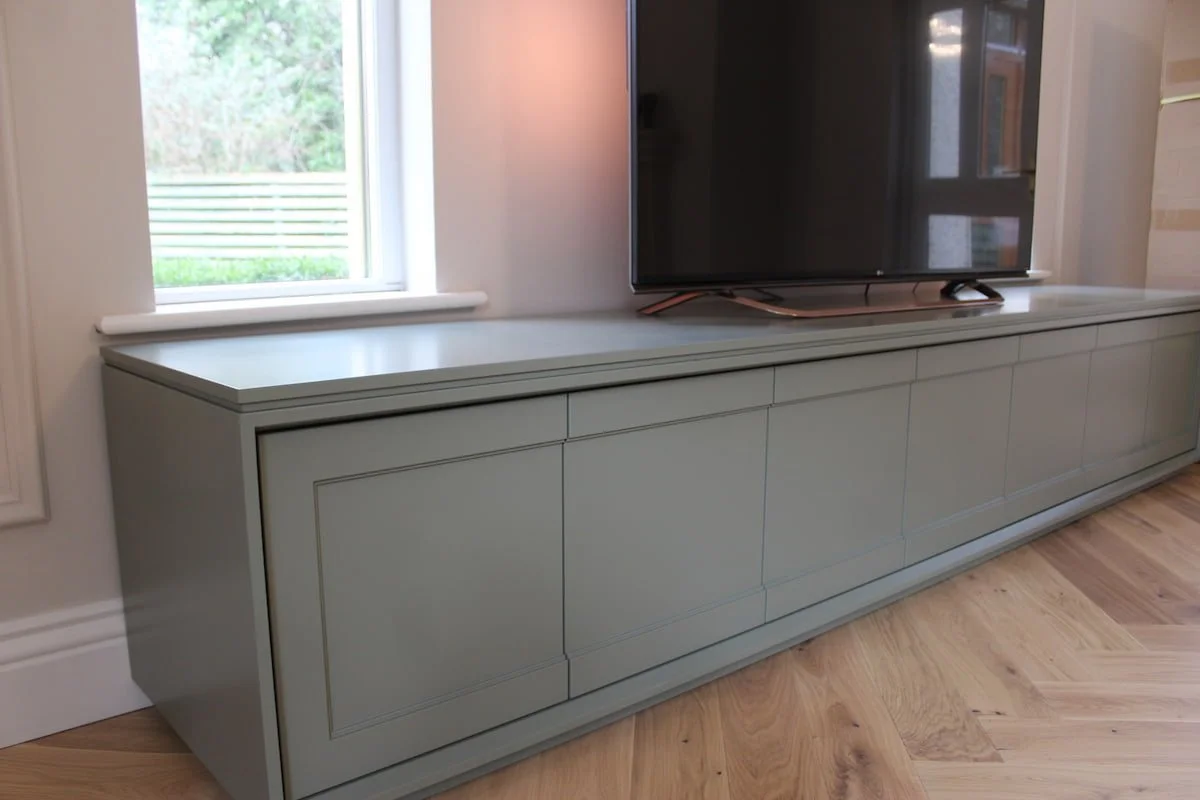
Photo Credit Clodagh Doyle Media Unit
10. Clean-Up and Inspection: Polishing Up
Before you can move back in, there’s a thorough clean-up to ensure everything is spotless. After cleaning, a final inspection is conducted to verify that all work meets the required standards and your expectations.
Tip: Create a snag list for the final inspection. Address any concerns or incomplete tasks with your contractor.
10. Handover: Welcome to Your New Home
Finally, it’s time for the handover. Your contractor will walk you through your renovated home, explaining new features and systems. It is a moment of celebration as you see the transformation completed.
Tip: Take time to familiarize yourself with any new systems or features. Don’t hesitate to ask your contractor for advice on maintenance and care to keep your home looking and functioning its best.
Wrapping Up
Embarking on a home renovation can be a complex journey and there may be bumps along the road, however, understanding the process can make it much more manageable. By knowing what to expect at each stage, you can stay engaged, make informed decisions, and ensure a successful transformation.
Discuss your home renovation with us today


